This week is all about the recently introduced functionality to use PowerShell scripts for installing and uninstalling Win32 apps. That functionality enables IT administrators to use a PowerShell script as the installer type for Win32 apps. To make that a little bit more concrete; it enables the IT administrator to select a PowerShell script that should be used for installing a Win32 app. Before it was already possible to use a PowerShell script within the command line for the installation of a Win32 app, but that always had to be a script that existed within the Win32 app content. The major challenge with that approach was that every adjustment to that PowerShell script would require building a new Win32 app. That was far from ideal, but that has changed. With this new functionality, IT administrators can simply separately configure the PowerShell script that should be used for installing or uninstalling the Win32 app. A great improvement. And, yes, that enables all sorts of pre- and post-installation actions, but that was already possible by adding those PowerShell directly to the Win32 app content. This post will provide a closer look at using a PowerShell script as the installer type for Win32 apps, and the administrator experience.
Configuring the PowerShell script installer type for Win32 apps
When looking at using a PowerShell script for installing Win32 apps, it all starts with the creating and configuring the Win32 app. Wrapping the Win32 app content and uploading the Win32 app content, is not the focus of this post. That process is already described in different details on this blog. The focus of this post is the Installer type for Win32 apps. Before there was nothing to choose, it was simply specifying the command line that should be be used. Now there is a choice to make between Command line and PowerShell script as the Installer type for Win32 apps. Selecting PowerShell script as the Installer type enables the ability to work with PowerShell scripts for installing the Win32 app, without having to add it as part of the Win32 app content.
When already using a command file, or PowerShell script, for installing a Win32 app, that already could be a very good reason to eventually start using a PowerShell script as the installer type for that Win32 app. Simply for making adjustments to that PowerShell script, this new functionality opens a new world. Especially useful when searching for the right installation options. The PowerShell script does not need to be part of the Win32 app content, which saves many times of wrapping the content and uploading it to Microsoft Intune. While not directly being part of the Win32 app content, the PowerShell script can still easily call that content. The following PowerShell snippet shows how to easily start msiexec to start the installation of Snagit and to wait for that installation to finish. Both referenced files are available in the root directory of the Win32 app content.
Start-Process msiexec.exe -ArgumentList '/i snagit.msi TRANSFORMS=snagit.mst /l*v C:\Temp\snagitinstall.log /quiet /norestart' -WaitActually using a PowerShell script as the installer type is a pretty straightforward process. That can be done during the initial creation of the Win32 app, but can also be easily adjusted by editing an existing Win32 app. The following seven steps walk through the process of adjusting an existing Win32 app, to add a PowerShell script for starting the installation.
- Open the Microsoft Intune admin center portal and navigate to Apps > Windows
- On the Windows | Windows apps page, select a existing Win32 app and navigate to Properties
- On the [AppName] | Properties page, navigate to the Program section and click Edit
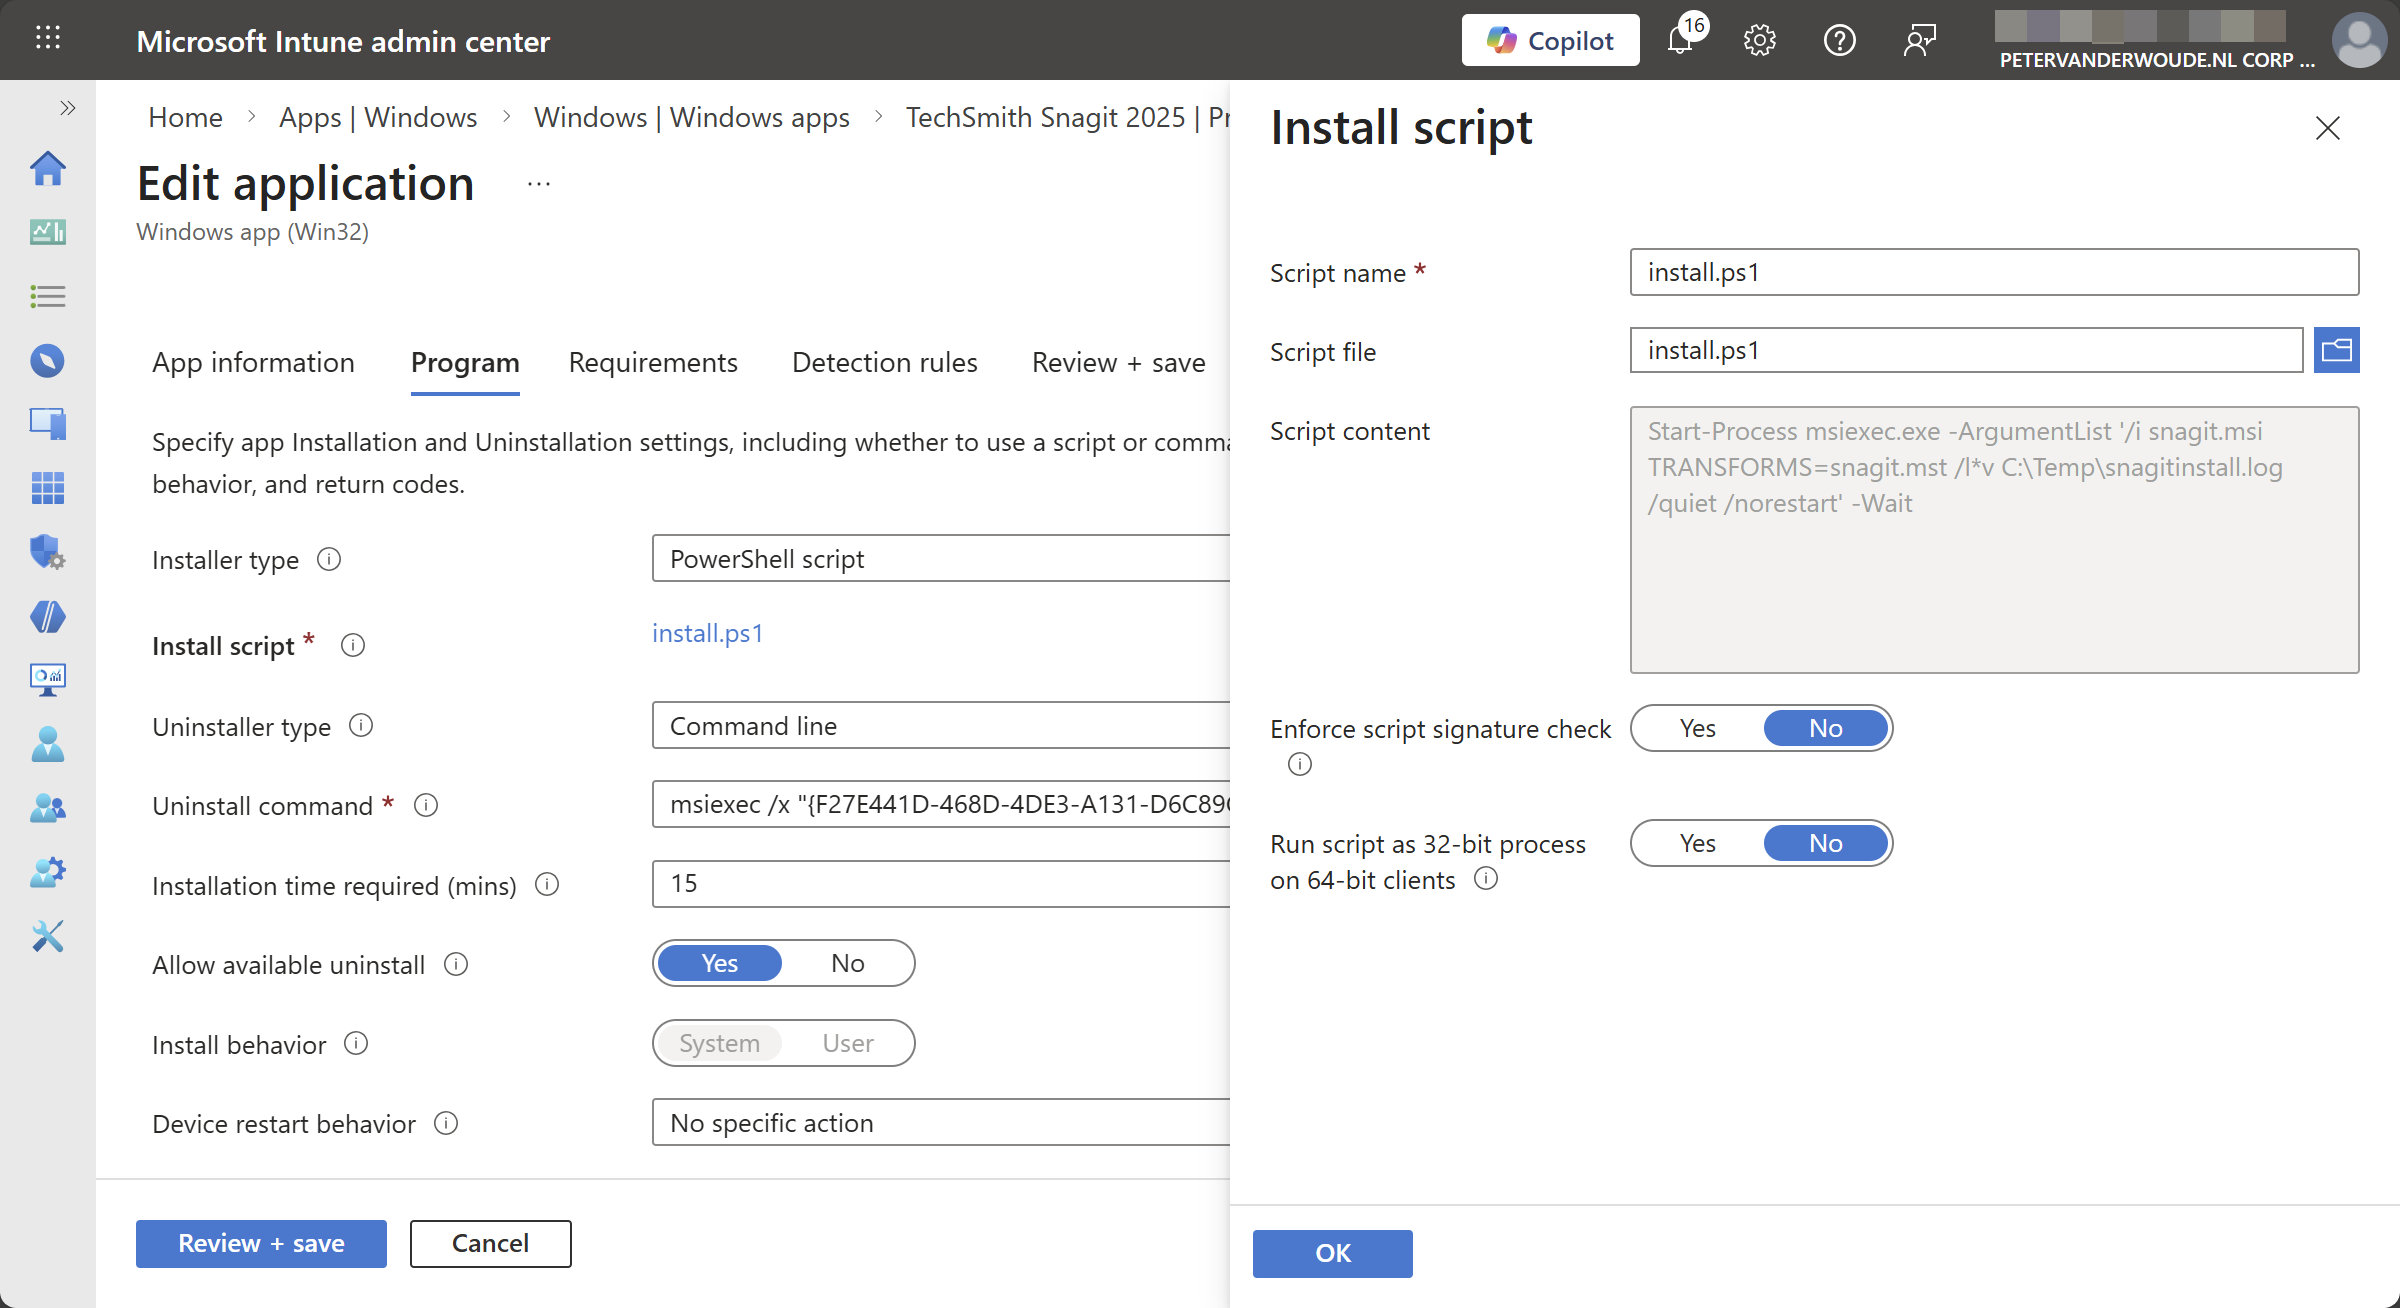
- On the Edit application page, in the Program tab, as shown below in Figure 1, go through the following actions and click Review + save
- Installer type: Select PowerShell script to enable the ability to enable the option to add a custom script
- Installer script: Click Select custom script, in the Install script blade browse to the PowerShell script that should be used for the installation and click OK
- On the Requirements page, click Review + save
- On the Detection rules page, click Review + save
- On the Review + save page, verify the changes and click Save
Note: That PowerShell script can of course also be used to verify running processes, available files, and many more.
Experiencing the PowerShell script installer type for Win32 apps
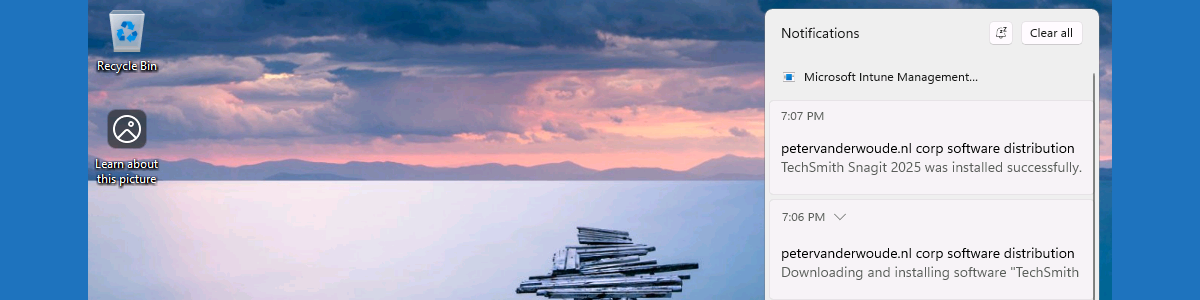
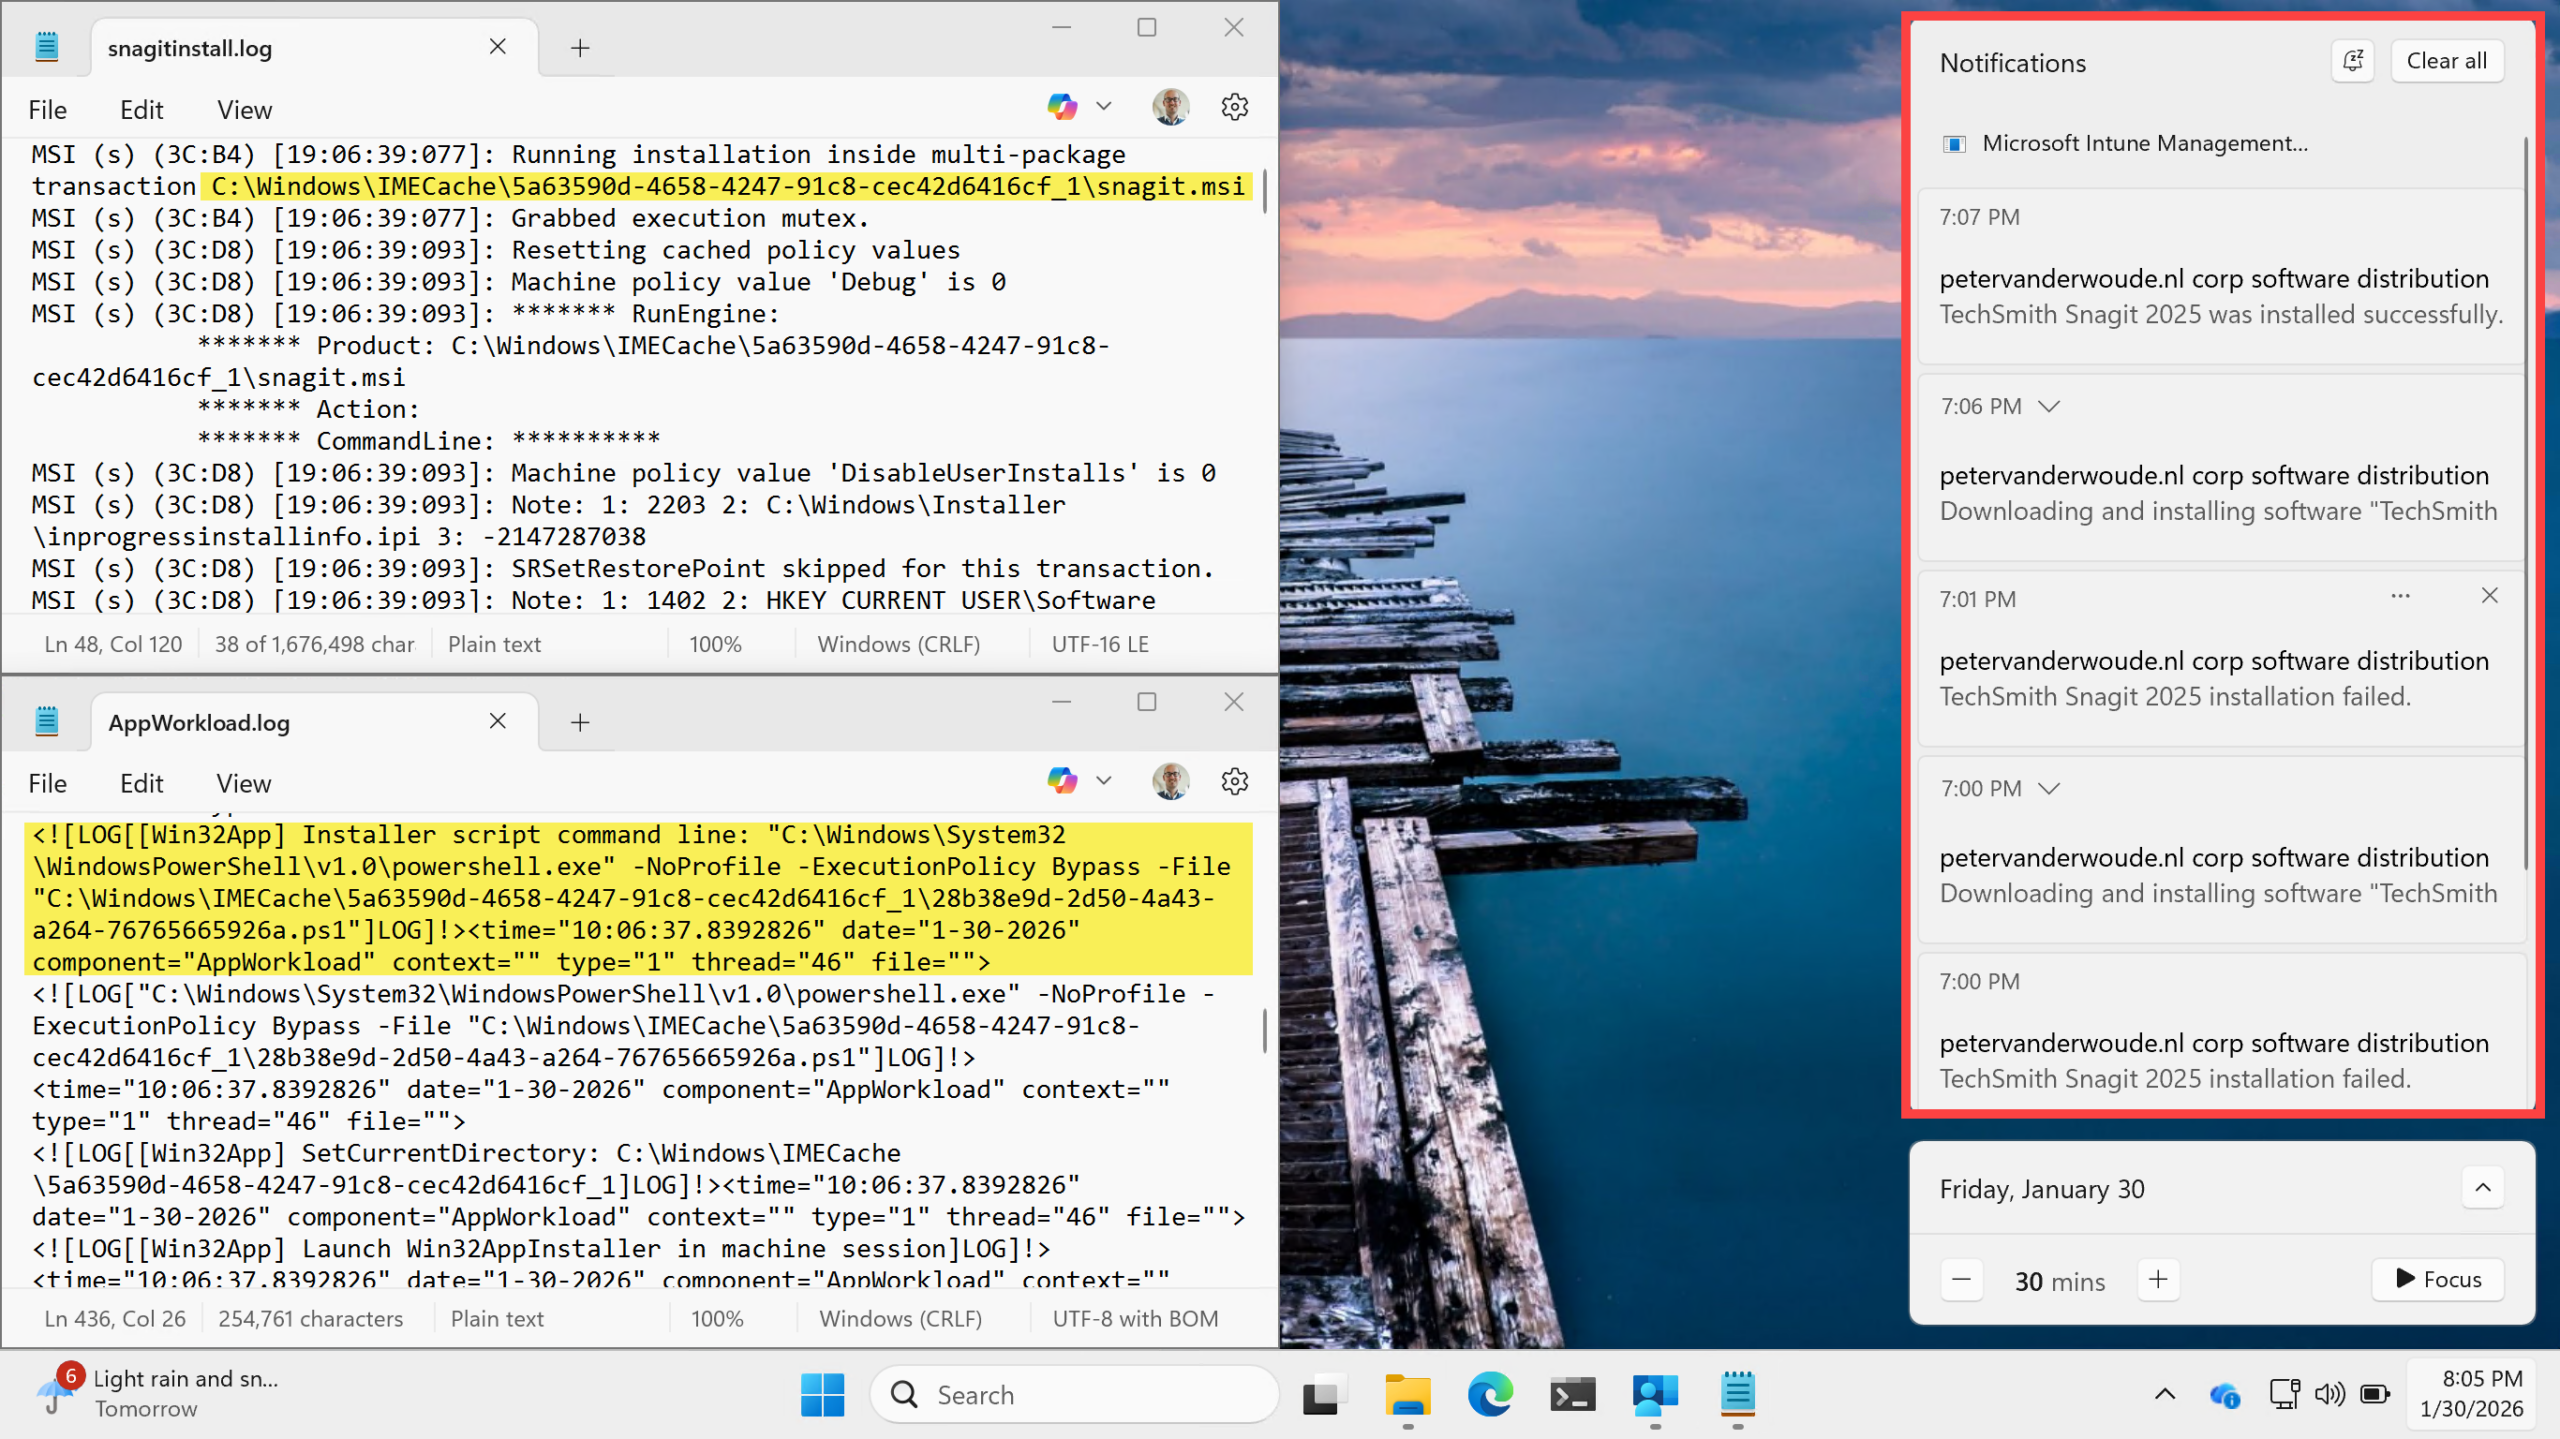
When using a PowerShell script for starting the installation of a Win32 app, there is not a whole lot to look at. The notifications look exactly the same as with any other Win32 app (as also shown below in Figure 2). The main difference, however, is that it is pretty easy now to quickly make some adjustments to the PowerShell script and to retry the installation. Besides that, there are a couple of basics in the log files that provide some details that at least confirm the adjusted configuration. The installation logfile of the Win32 app itself clearly shows the location that was used for starting the MSI, and the AppWorkload.log of the Intune Management Extension clearly shows that the installer script was used for starting the installation of the Win32 app.
More information
For more information about deploying Win32 apps using Microsoft Intune, refer to the following docs.
Discover more from All about Microsoft Intune
Subscribe to get the latest posts sent to your email.